
Compared to the black and white photo presentation, this one was fairly simple and easier to execute (in my opinion). The overall shooting and editing process was less of a hassle. In this article I’ll talk about my own experience while taking these photos as well as give my own opinion and advice on how you can create the perfect panoramic images.
SHOOTING PROCESS

Compared to the last project, creating the perfect scene may have been more difficult since panoramas themselves are captivating and intriguing pieces of art that require a lot of creativity, and manpower to execute those ideas with the use of a camera. In my experience with panoramic photos, it’s essential to select a distinct spot. Taking multiple shots based on the rule of thirds and then merging them is key. Conceptualizing a singular, expansive creative image and then breaking it down into multiple shots in a short amount of time was challenging. My concept was to feature a subject, and then show their surroundings. However, I often messed up with maintaining the “rule of thirds,” leading to some overlaps in the editing phase as subjects ended up in the same frame. I noticed that open spaces, especially outdoors, are ideal for panoramic shots because of the expansive backdrop they offer. Therefore, adding on to the “rule of thirds” is crucial to produce a flawless, creative image.
EDITING PICTURES


First, I opened Photoshop and navigated to File > Automate > Photomerge. Here, I chose the photos I intended to merge into one panoramic shot. Photoshop offers various panorama styles, like perspective and reposition. It’s worth experimenting to see which style suits your photos best. I typically leaned towards the auto or spherical options. Once merged, you can tweak with the lighting, contrast, and saturation to refine the image to your liking.
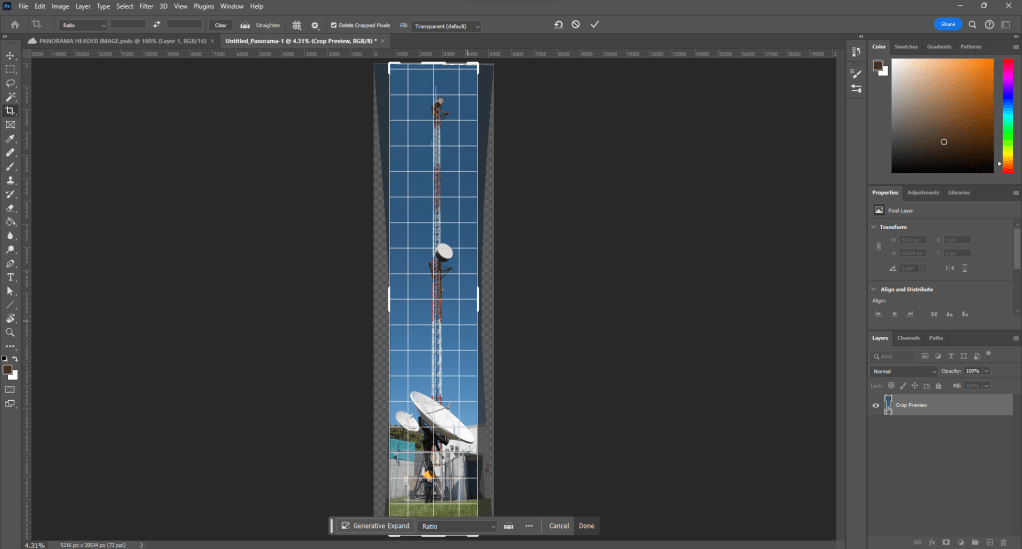
All photos I took went through this editing process. For instance, my first photo was overexposed and lacked some saturation. The second had some cropping and lighting issues, and the third was underexposed. With some adjustments to lighting and color, I achieved my desired results. One thing to remember is that Photoshop’s panoramic function often leaves a transparent background, represented by white and grey squares. So, remember to crop out these areas before finalizing and exporting your image.
MY ADVICE

For you beginner photographers eager to dive into the world of panoramas, the journey is both thrilling and rewarding. Start by selecting a scenic location with a broad viewpoint. As you capture your shots, ensure a substantial overlap between images, making the merging process smoother. Once you’re ready to stitch them together, Photoshop is your best ally. Experiment with various options available. Adjust lighting, contrast, and saturation to bring out the best in your panoramic shot. Remember, the key lies in trial and error; with every panorama you shoot and edit, you’ll grow more proficient and effective in your approach.
Featured image by Y S on Unsplash; edited by Juan Castillo
Pictures used throughout the article by Juan Castillo
