
In simple terms, destructive editing means you’re essentially destroying something. Specifically, when you apply this to an image, you’re making permanent changes that can’t be undone, effectively erasing the original image. On the other hand, non-destructive editing allows you to make numerous changes while preserving the original image. This method stores all the edits as separate layers, which can be adjusted, removed, combined, or restored without altering the original image. You can even delete all the changes and still have the original image. Some techniques for non-destructive editing include using camera raw, masking, and retouching on a separate layer, which we’re going into more depth inside this article.
DESTRUCTIVE
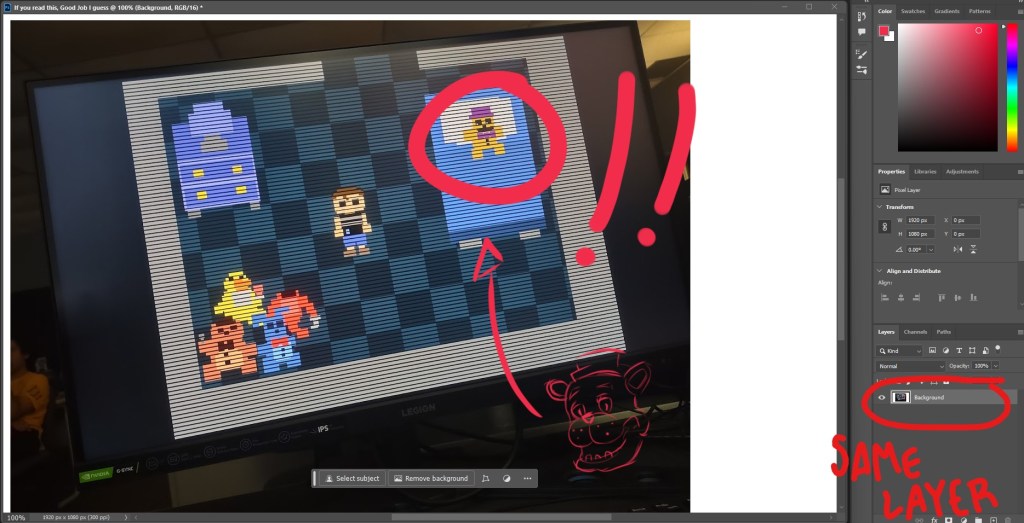
Using a destructive editing style has several drawbacks. When you edit destructively, you’re directly altering the original image without using layers, which makes it difficult to undo changes. This approach consumes a lot of time and limits your flexibility due to its permanent nature. For example, if you adjust the exposure of a picture and then apply a filter, the original exposure is lost, leaving you with limited options to revert the changes. Even minor edits like cropping or rotating an image can be destructive without using layers. To achieve the desired final result, you may have to restart the editing process from scratch or continually make corrections to undo or mask your mistakes. As we can see in the example below, I drew in the same layer. If I wanted to erase a mark for example, the whole background would be affected, because it’s all in the same layer. A more intelligent approach would be to create a brand new layer and draw there.
NON-DESTRUCTIVE
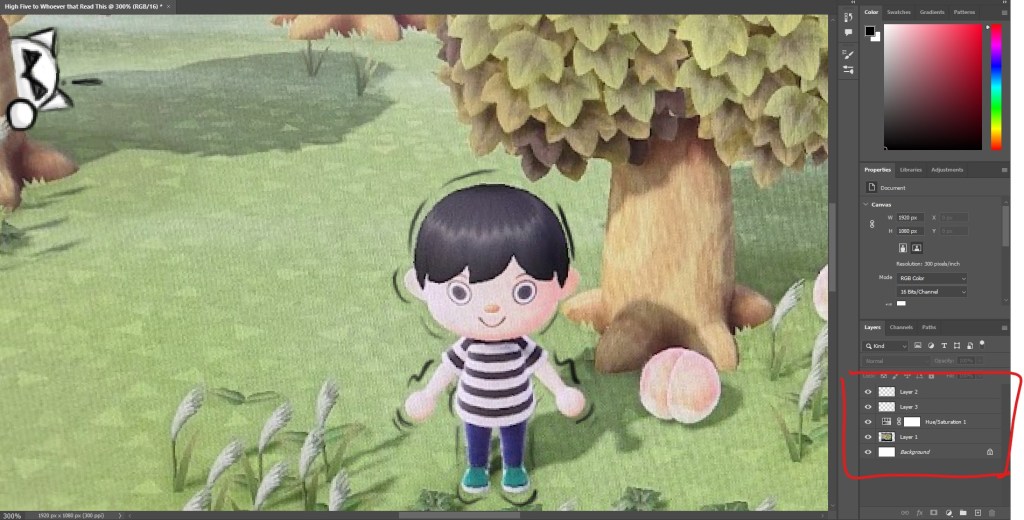
On the positive side, you can avoid these issues by utilizing a non-destructive editing style, as mentioned before. This method enables you to freely make changes to an original image without causing any damage. Non-destructive editing involves using layers and masks to edit your image as desired, regardless of the number of changes made, ensuring that the original image remains intact. This eliminates the need to start over. As mentioned earlier, layers are incredibly useful as they capture every edit, such as cropping or adding filters to your image, allowing you to always revert to the original, even if the image looks completely different. As you can see below, I did the same thing as the last example, I drew over my photo. This time, I thought more carefully, and made extra layers depending on what I wanted to do with the photo. You can’t just draw and color in the same layer as well, as this is basically destructive editing, so I made a designated layer for each, as it should be. Notice that the Hue/Saturation was applied as a layer and not as a filter, giving me the chance to adjust it if I need to and not ruin the whole project.
RASTER ART
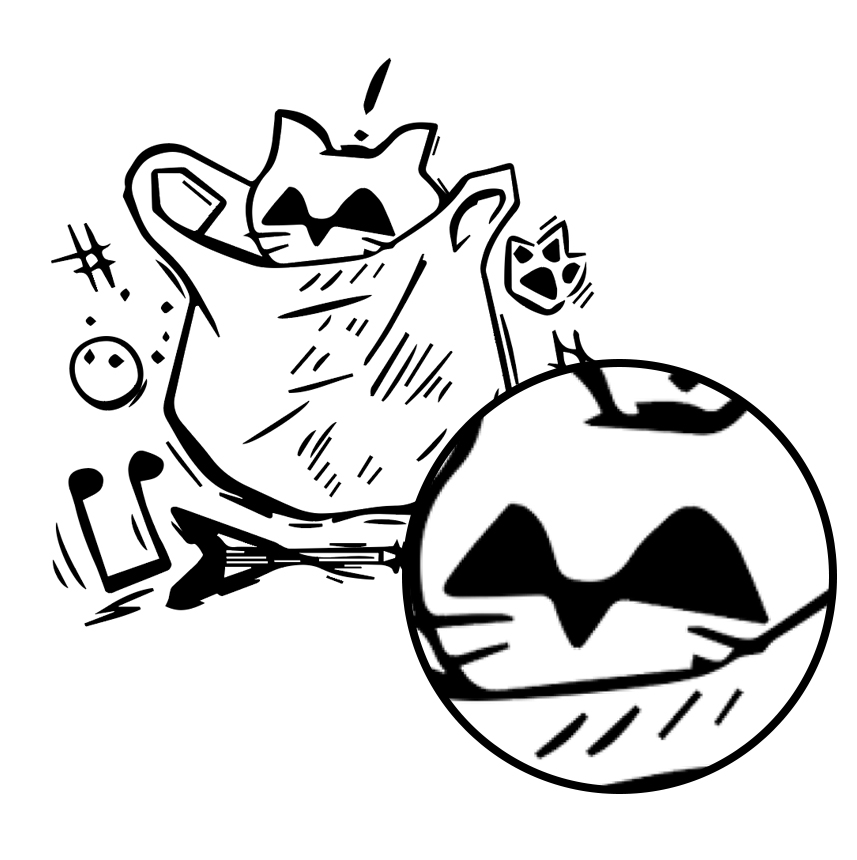
Raster files consist of images constructed from pixels, which are tiny colored squares. These pixels, when combined in large numbers, can form intricate and stunning images. The quality of a raster image is determined by the number of pixels it contains. The file type, such as JPEG, GIF, and PNG, influences the quantity of pixels in an image. Higher pixel counts generally result in higher image quality. However, a drawback of raster images is their resolution, which is often measured in DPI (dots per inch) or PPI (pixels per inch). When you zoom in on a raster image, the individual pixels become visible, and as you continue to zoom, the image loses its sharpness and clarity. Below you can see this drawing I made. This example right here was drawn in Photoshop, meaning it was drawn using pixels. As I mentioned earlier, the more you enlarge the image, the lower the quality.
VECTOR ART
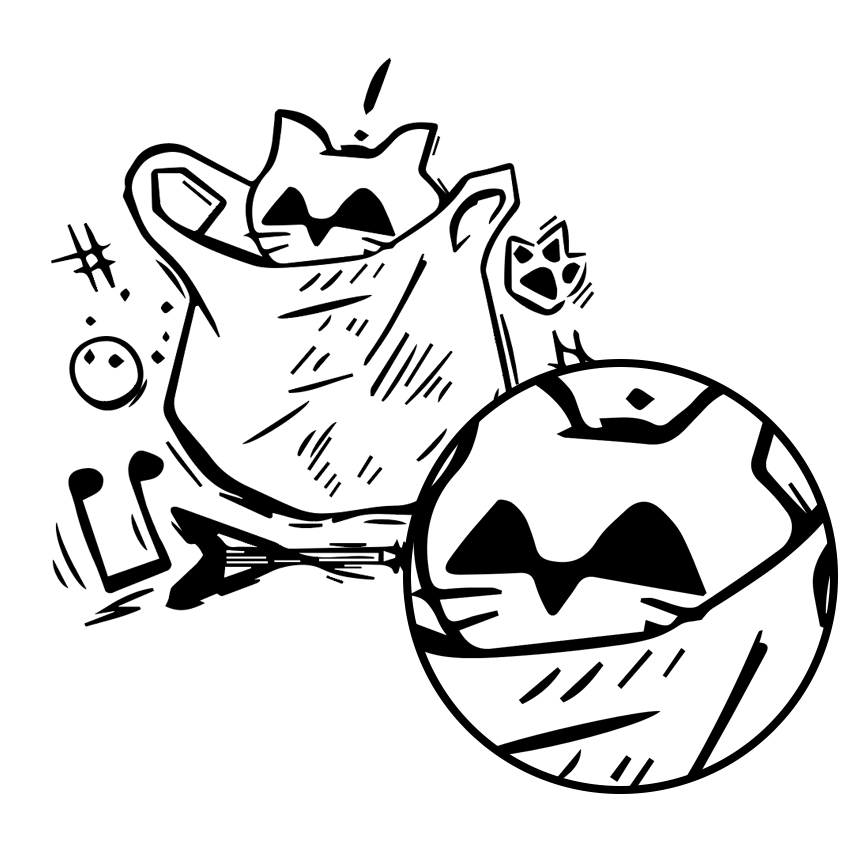
In contrast, vector files utilize mathematical equations, lines, and curves with fixed points on a grid to create images. Unlike raster files, vector images do not consist of pixels. Instead, these mathematical formulas capture the shape, size, and color to construct an image. Additionally, vector images can be scaled up or down without sacrificing quality, as the mathematical nature of the file allows for recalibration of size without loss of detail. This makes vector files particularly suitable for images that need to appear in various sizes, such as logos and illustrations used across different media. Due to their ability to maintain quality at any size, vector files are highly favored for applications where scalability and flexibility are crucial. The image below is the same example I showed earlier but converted into a vector using Adobe Illustrator. As you can see, when I enlarge the image, it does not lose its quality whatsoever, and that in simple terms are what vector art is all about.
Featured image by KIBOCK DO on Unsplash; edited by Juan Castillo
Images used throughout article by Juan Castillo
