I’m guessing the main reason you’re reading this article is to learn how to create an animated logo in Photoshop. Well, you’re in the right place. Animated logos can help the customer bond with the brand further, rather than having a plain and motionless icon. Having an iconic animation that your audience can recognize is crucial in order to form that connection, and today, you’ll learn how to do it by yourself.
STEP #1 – CREATE NEW DOCUMENT
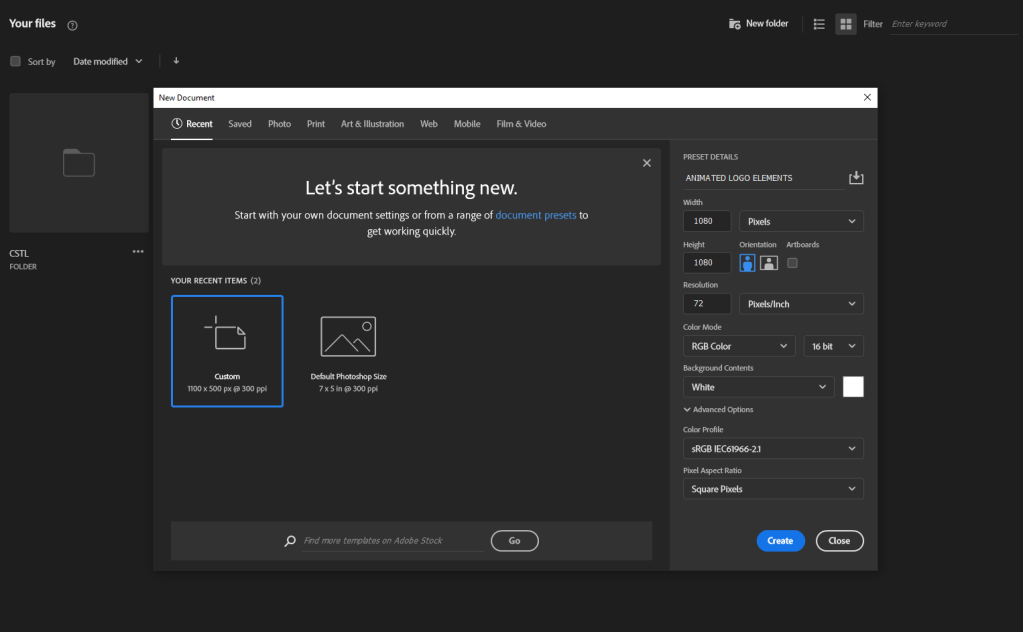
You’re going to start by creating a brand new Photoshop document with the specific dimensions that your client has told you to create this animation. In this case we’re creating a 1080×1080 pixels, 72 dpi, RGB document.
STEP #2 – OPEN YOUR LOGO
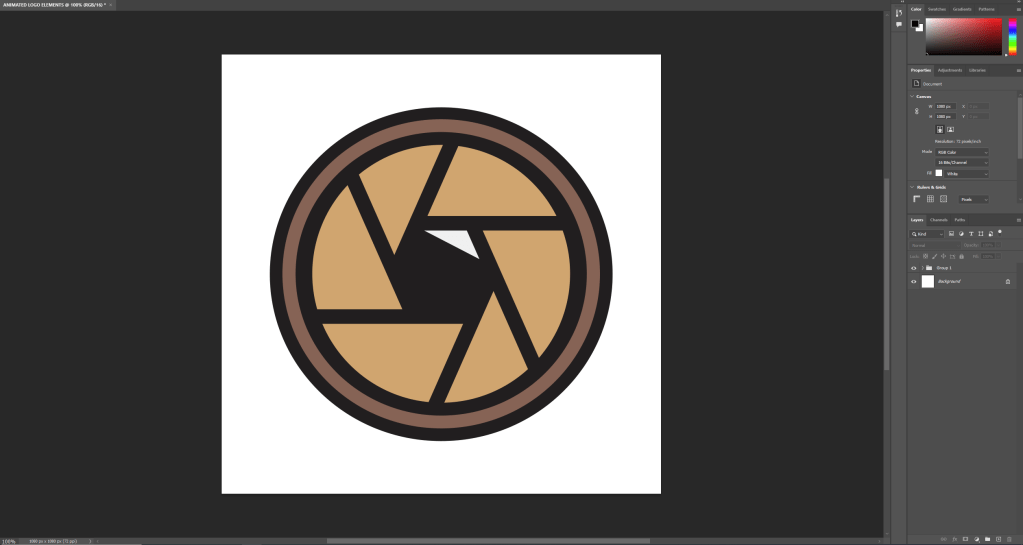
Import your logo as a png. file from Illustrator or wherever you created your icon in. Make sure that you are using layers and it is not a still image. I took this from illustrator and pasted it to have all of the layers.
STEP #3 – TURN ON TIMELINE
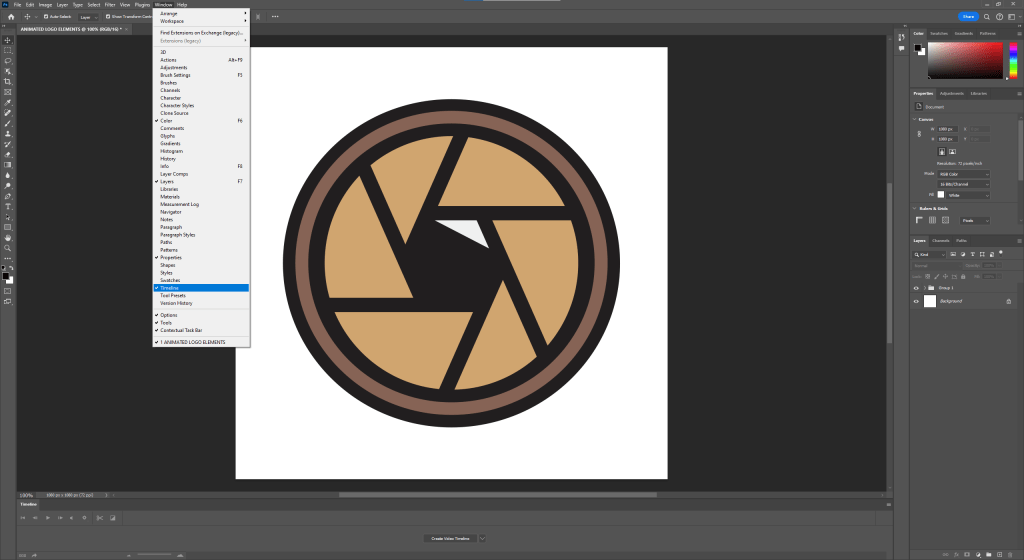
In order for you to be able to edit this and turn it into an animation, you’ll have to open the timeline. If you don’t have it open, go to Window > Timeline.
STEP #4 – ANIMATE
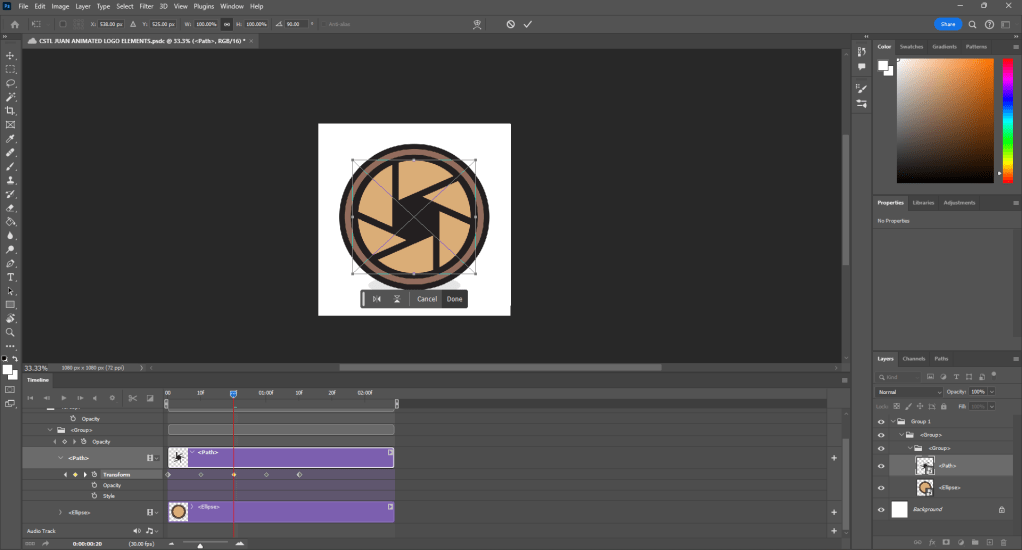
In this case, what I want is to move my camera’s lens. So in order to execute this I will do what is called adding a keyframe. The way you do this is you click on whichever action you want the animation to take. Right now I’ll click on transform, because I want it to rotate.
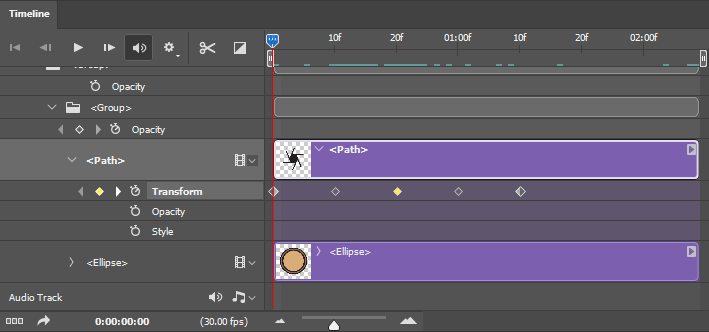
To rotate it, I’ll click on the desired stop time, and press ‘Ctrl + T’, so that I can move the object, and in this case, rotate it.
STEP #5 – FINAL TOUCHES
I wanted to add a little flash. What I did to achieve this was copy and paste the triangle that looks like a camera flash onto the timeline. Then, by clicking on the square that’s next to the scissors, the half black and half white square, I clicked fade into white, and dragged it into the triangle. You can adjust how long you want the fade to last.

STEP #6 – EXPORT
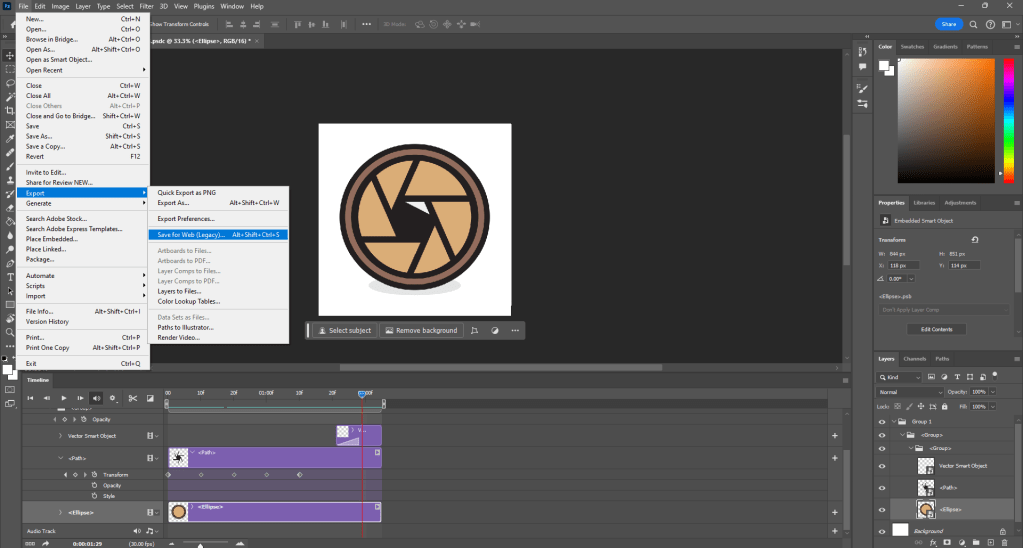
Congratulations! you have just completed your first animated gif file in Photoshop. Now, in order to show your masterpiece to the world, you’re gonna want to go on File > Export > Save for Web (Legacy).
Next step is to save the gif. file. The way you do this is by clicking on the tab that says [GIF]. I also clicked the preset ‘GIF 128 DITHERED’. What this allows me to do is to save the animation as a smoother file directly from the Photoshop software. The app creates smooth transitions for your animation based on the color palette and amount of colors that are inside of your file. The higher the number (such as 128), the more colors it supports.

CONCLUSION
And you are done. Next time, use Animate or After Effects, unless you’re being forced to use Photoshop. Still though, you can make some professional animations with this software, it’s all just a matter of patience and practice, good luck.
Photo by Denny Ryanto on Unsplash; edited by Juan Castillo
All photos used throughout the article by me.
